Last updated: July 6, 2026
Polishing is one of the most demanding stages in the creation of an optical glass sculpture. A successful polish reveals the qualities that make optical glass so compelling: clarity, depth, light transmission, and reflection.
Over the years, I have learned that a good polish requires careful preparation, attention to detail, and patience throughout the entire process. Here are the techniques I rely on when polishing optical glass sculptures.
1. Understand the type of glass you are working with
Not all glass behaves in the same way during grinding and polishing. Optical glass is manufactured with high-quality raw materials and minimal impurities, which gives it exceptional transparency. At the same time, this can make surface defects more visible and polishing more demanding.
Before starting, it is worth understanding the characteristics of the specific glass you are using. Small differences in composition can affect grinding speed, polishing time, and the final appearance of the surface.
2. A good polish starts with good grinding
The quality of the polish depends on the quality of the grinding stages. If scratches remain after grinding, polishing will not remove them efficiently. In many cases, polishing makes existing defects more visible.
I work through progressively finer abrasives, moving from coarse grits used for shaping to finer grits used for surface refinement. Taking extra time during grinding often reduces the time needed later during polishing.
3. Choose an appropriate polishing compound
For optical glass, cerium oxide is the most widely used polishing compound because it produces a high-gloss finish.
I prepare it as a slurry by mixing the powder with distilled water until it reaches a smooth consistency. The exact ratio is less important than maintaining a mixture that stays evenly distributed during polishing.
4. Match the tool to the area you are polishing
Different parts of a sculpture often require different polishing approaches.
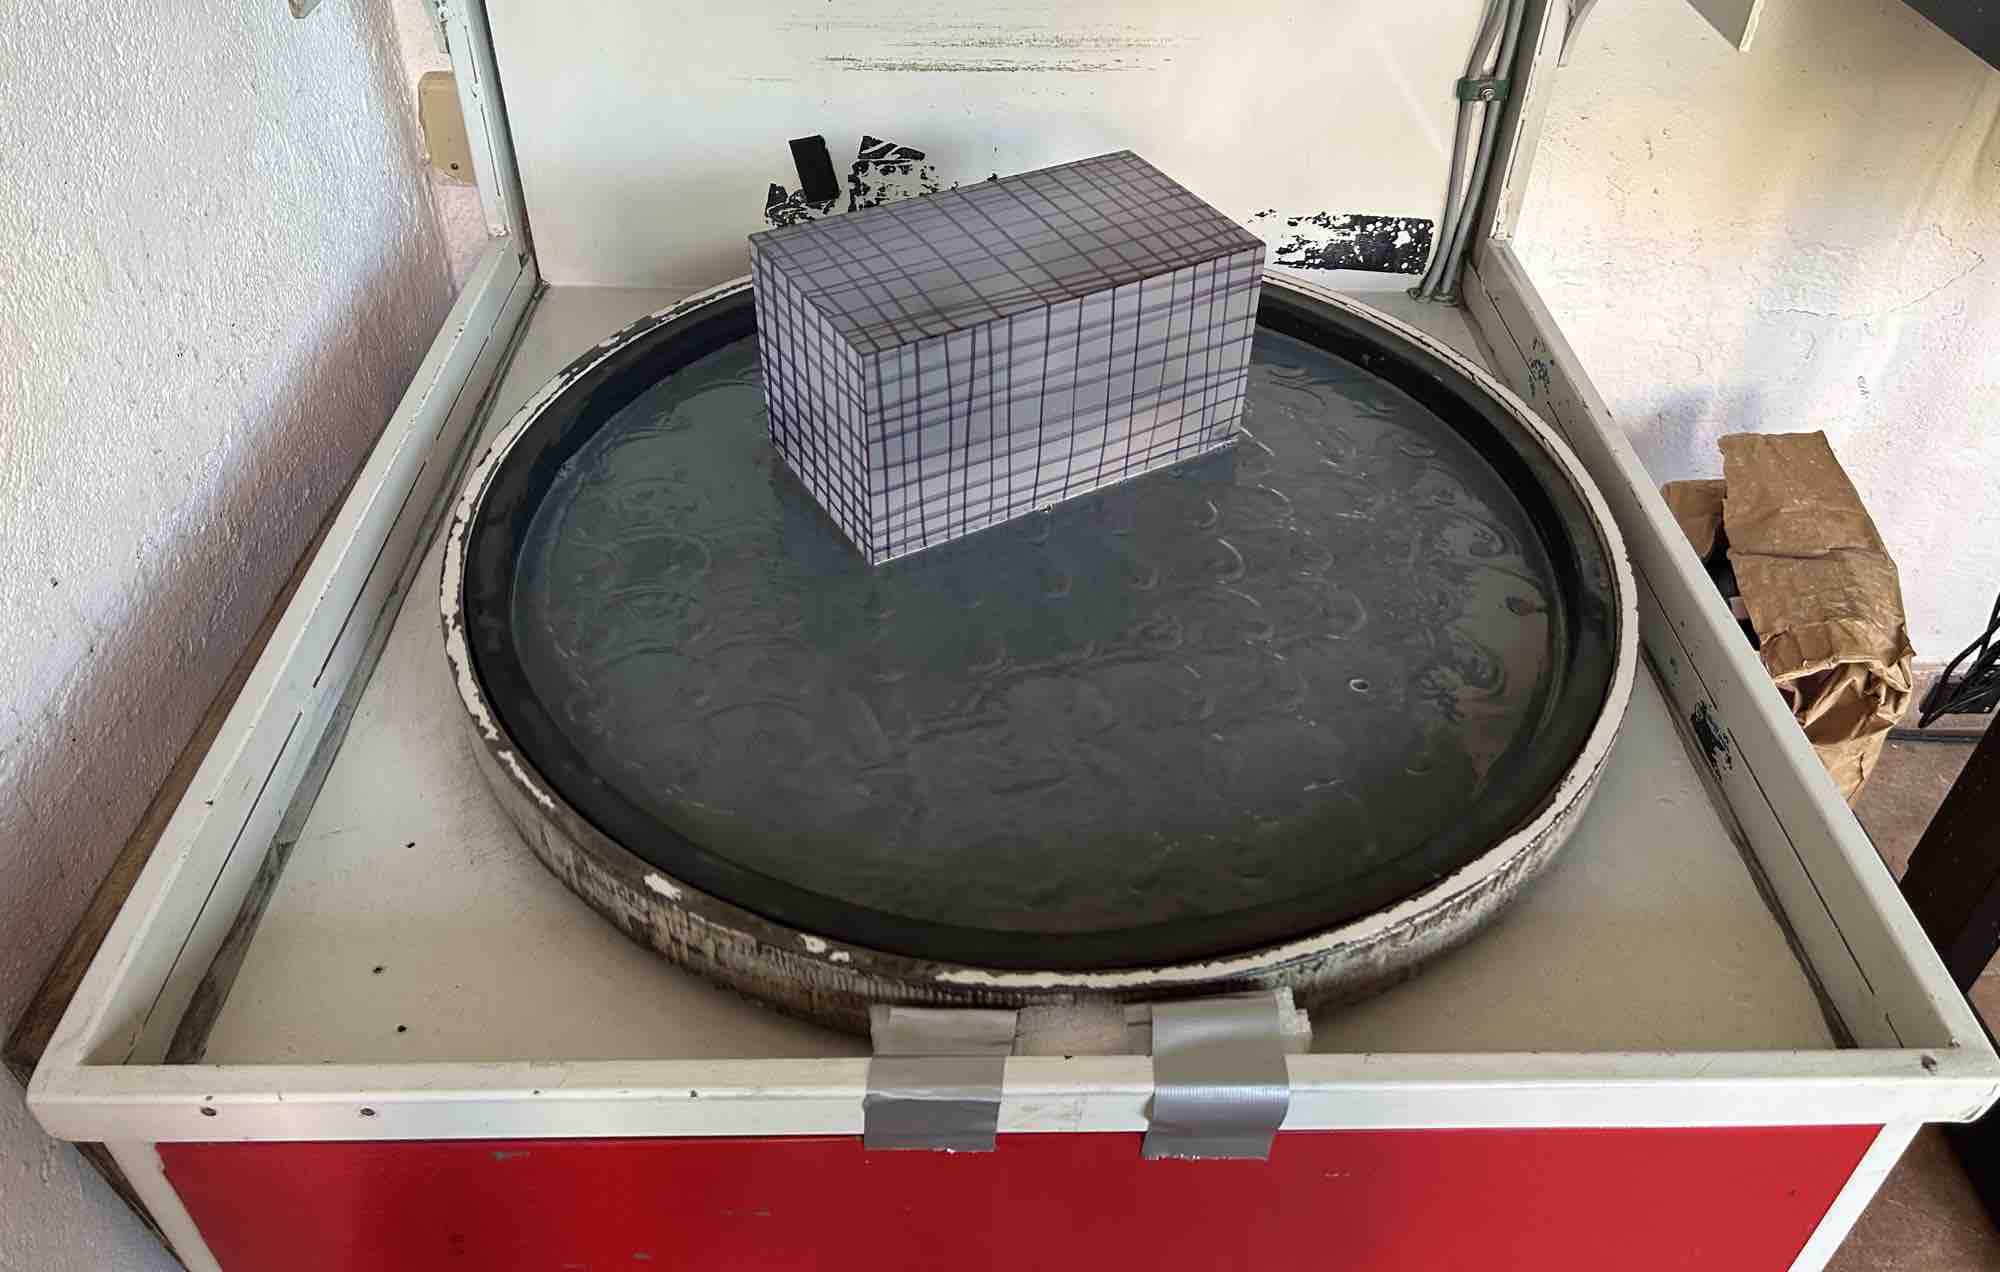
For larger surfaces, felt polishing pads mounted on a rotary tool can be very effective. If you are polishing large, flat faces, a Rociprolap or a similar reciprocating flat-lapping machine is an excellent option, as it is designed to produce highly flat, evenly polished surfaces with minimal manual effort.
Smaller details, edges, and difficult-to-reach areas usually require hand polishing with small felt tips, polishing cloths, or other tools that offer greater control.
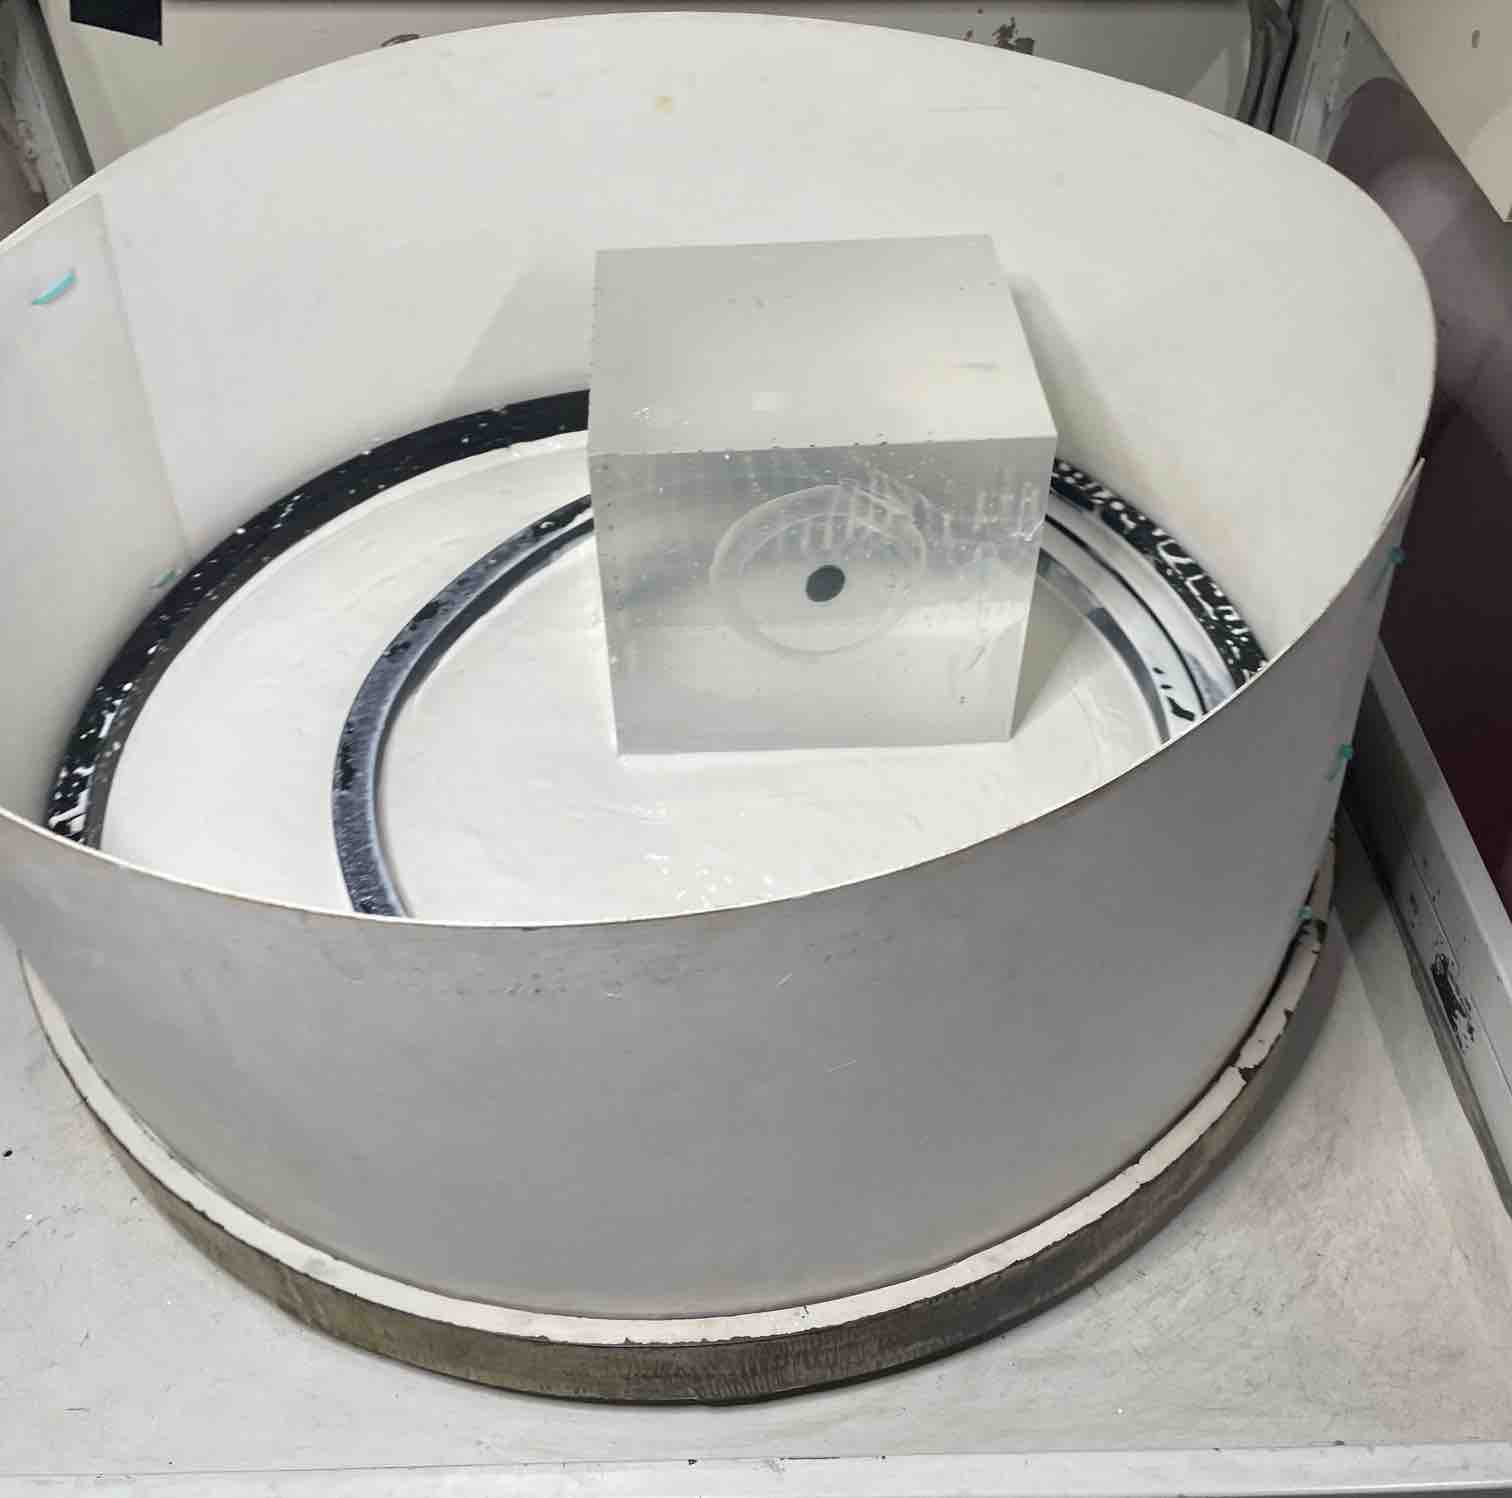
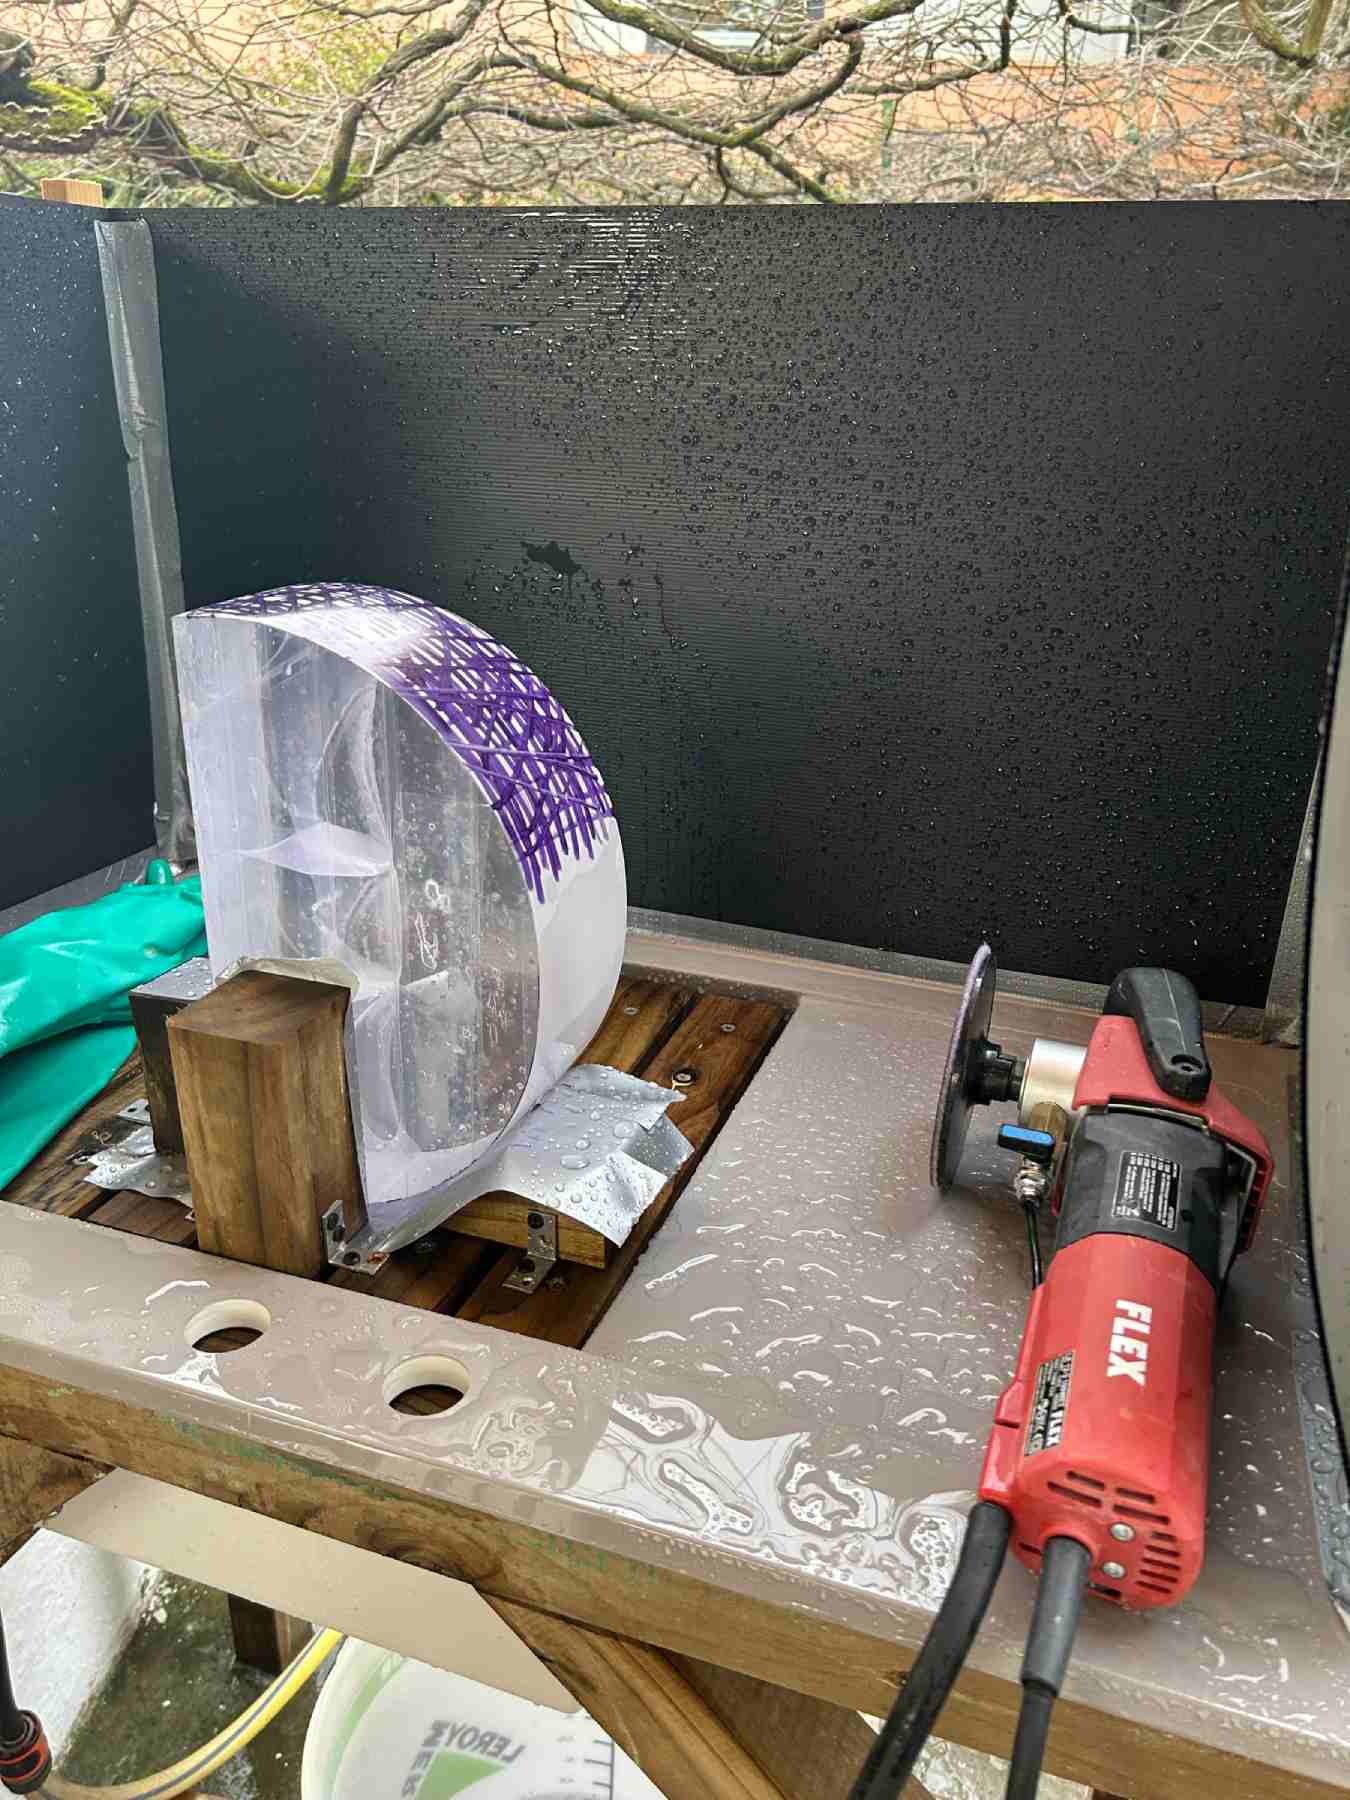
5. Maintain consistent pressure and speed
Consistent pressure and speed are key to achieving an even polish. Pressing too hard or moving too quickly can lead to heat build-up, increase the risk of surface distortion, and create uneven results. Too little pressure can also result in uneven polishing and a dull finish.
Aim to keep your tool moving steadily across the surface, applying just enough pressure to allow the polishing compound to do its job. If you’re hand-polishing, be mindful of the pressure you apply and adjust as needed to maintain consistency.
6. Control heat build-up
Friction generated during polishing can create thermal stress, especially when working on the same area for too long. To help control temperature, I keep adding water to the surface during the process and avoid concentrating excessive polishing time on a single spot.
When using powered equipment, regular pauses allow both the glass and the polishing tool to cool down.
7. Inspect the surface frequently
I stop regularly to inspect the surface under strong light, looking for scratches, haze, or uneven areas. A magnifying glass or jeweller’s loupe can help reveal defects that are difficult to see with the naked eye.
Finding a problem during an intermediate stage is far preferable to discovering it after the final polish.
8. Be patient
There is no shortcut to a high-quality optical polish.
The most successful results usually come from careful, methodical work rather than speed. When a surface is not progressing as expected, it is often worth returning to an earlier stage rather than trying to force the final polish.
Patience during grinding, polishing, and inspection is usually rewarded with greater clarity and a more refined finish.
Common mistakes when polishing optical glass
The problems I encounter most often are:
- Moving to polishing before all grinding scratches have been removed.
- Applying excessive pressure.
- Allowing the glass to overheat.
- Using contaminated polishing compounds or pads.
- Skipping regular inspection of the surface.
Avoiding these mistakes can save many hours of rework.