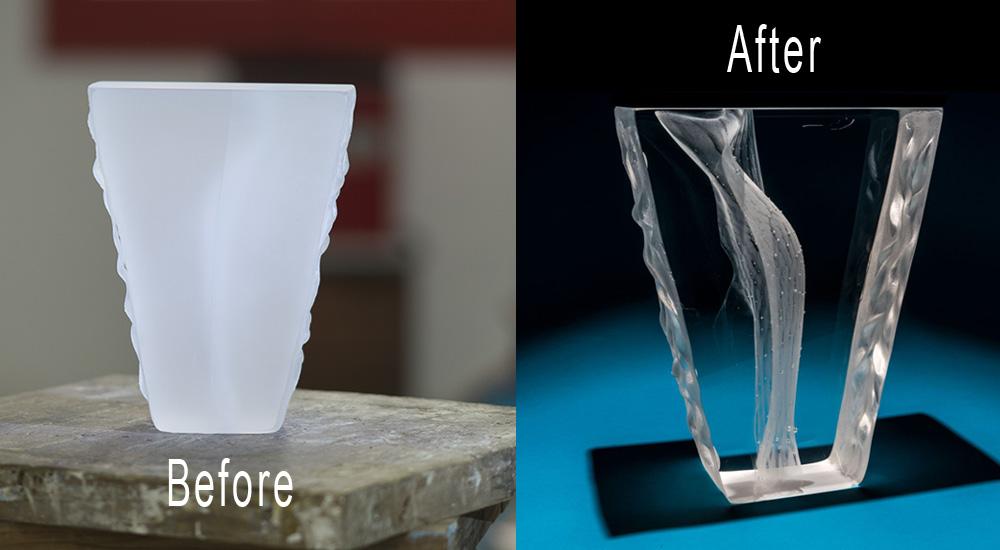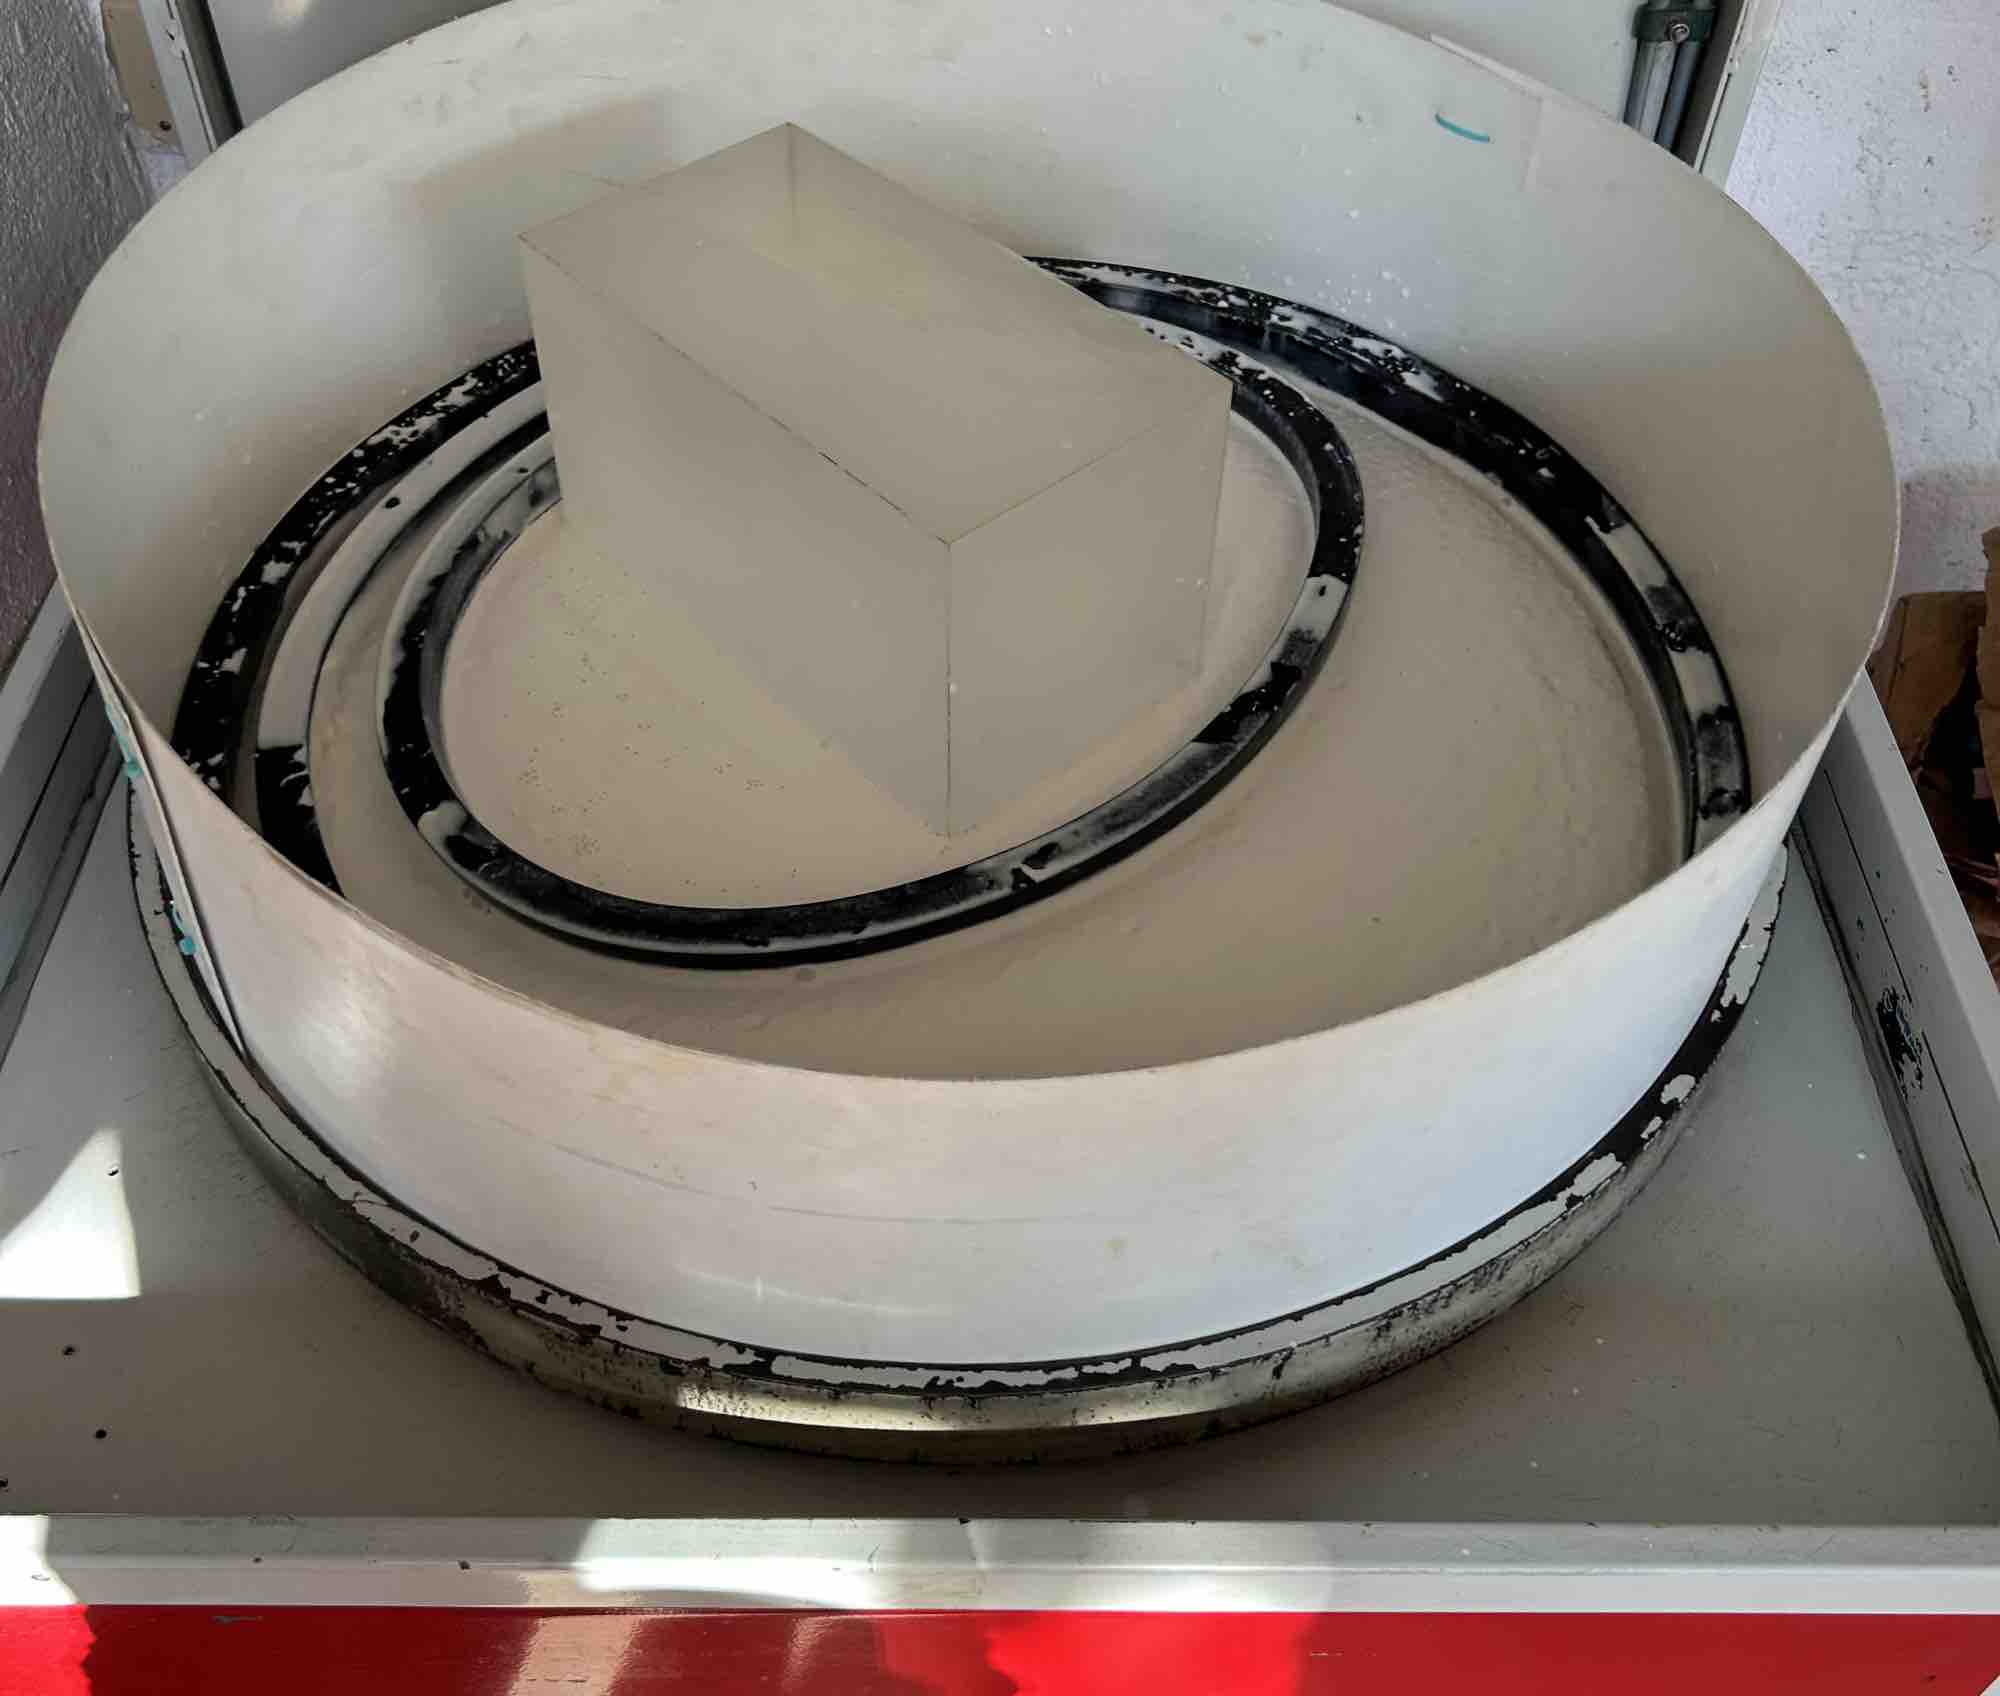
Polishing is one of the most overlooked yet crucial parts of working with glass. Whether it’s a delicate sculpture or a functional panel, how you finish the surface can dramatically elevate the final result.
In this post, I’m sharing my top tips for glass polishing—practical advice I use in my studio to achieve that pristine, light-catching surface.
1. Plan your polishing strategy from the start
Every successful finish begins with intention. Before you even begin grinding, determine the final visual effect you want.
Top tips for glass polishing planning:
- Decide on matte vs. high gloss early in the process.
- Use reference pieces or lighting tests to envision the final outcome.
- Mark areas needing focused polishing to save time and avoid overworking edges.
2. Use a consistent grit progression in grinding
Whether using silicon carbide or diamond pads, following a proper grit sequence is critical to a perfect polish.
Glass polishing tip:
Start coarse and work toward the finest grits (e.g., 80 → 220 → 400 → 600 → Polishing). Skipping grits will leave micro-grooves that show through even the best polish.
Top tip: Always rinse the piece and your tools thoroughly between each stage to prevent grit contamination.
3. Select the right grinding material for the job
I often switch between two grinding methods based on the shape and finish required:
- Silicon carbide grinding: Excellent for larger surfaces and flat planes.
- Diamond pads: Ideal for shaping curved contours and intricate transitions.
Top tip for glass polishing precision: Use water constantly with both methods to reduce heat, prevent micro-fractures, and extend tool life.
4. Bevel edges to prevent chipping during grinding and polishing
Sharp edges on glass aren’t just fragile—they’re also hazardous during the polishing process. One of the most overlooked top tips for glass polishing is to lightly bevel or round the edges before beginning each grinding stage.
Why beveling matters:
- It reduces the risk of edge chipping during grinding and polishing.
- It helps distribute pressure evenly when using pads or wheels.
- It creates a safer, cleaner transition between surfaces.
Top tip: Use a fine-grit diamond hand pad or a silicon carbide stone to gently round the edges after your coarsest grinding stages. This minor adjustment can dramatically improve the finish of your piece.
5. Polish with cerium oxide using controlled pressure
Cerium oxide is my go-to polish for all final stages—its ability to restore optical clarity is unmatched.
How I apply it:
- Mix cerium oxide powder with distilled water into a creamy slurry.
- Use a felt pad and polishing tool with light, even strokes.
- Continuously check for haze, swirl marks, or uneven polish under strong directional light.
Top tip for glass polishing clarity: Don’t over-polish! Too much pressure can overheat the glass or cause surface deformation.
6. Inspect between every stage
You can’t fix a missed scratch after polishing—it must be removed earlier in the process.
My glass polishing inspection routine:
- Dry the piece fully after each grit.
- Use a flashlight or reading light to reveal hidden imperfections.
- Examine from multiple angles, especially on flat planes.
Top tip: Keep a notebook or phone photo log of your piece’s progress—it helps you spot recurring issues.
7. Create a dedicated polishing workspace
Environmental factors matter in achieving the perfect finish.
Top workspace tips for glass polishing:
- Use a clean, dust-free area.
- Install bright, diffuse lighting (LED strips work well).
- Keep polishing tools separated by function to avoid cross-contamination.
Bonus tip: A damp mat under your workpiece reduces vibration and keeps surfaces stable during fine polishing.
8. Maintain consistent lubrication
Dry grinding or polishing is never an option with optical glass.
Top tip for safe glass polishing:
- Use distilled water only. Tap water can leave mineral spots or react with polishing compounds.
- Keep your work surface and polishing pad moist at all times to prevent friction damage.
Polishing optical glass is equal parts technical discipline and artistic finesse. Whether you’re an artist, designer, or craftsman, I hope these insights help you bring greater clarity to your work!

