When people see one of my sculptures, they often ask about the polishing or the light effects, but rarely about the glass casting mold material. Yet it’s one of the most essential parts of the process. A glass mold isn’t just a technical necessity. It has to withstand heat, capture fine detail, and ultimately let go of the sculpture without taking it down with it. Here’s a look into what I’ve learned through my hands-on work with different glass casting mold materials—what I trust, what I avoid, and why.
The mold materials I use in my studio
I’ve tested a wide range of glass casting mold materials over the years. Some failed. Some surprised me. But these are the ones I return to, based on the kind of work I create and the quality I expect.
Plaster-silica investment molds
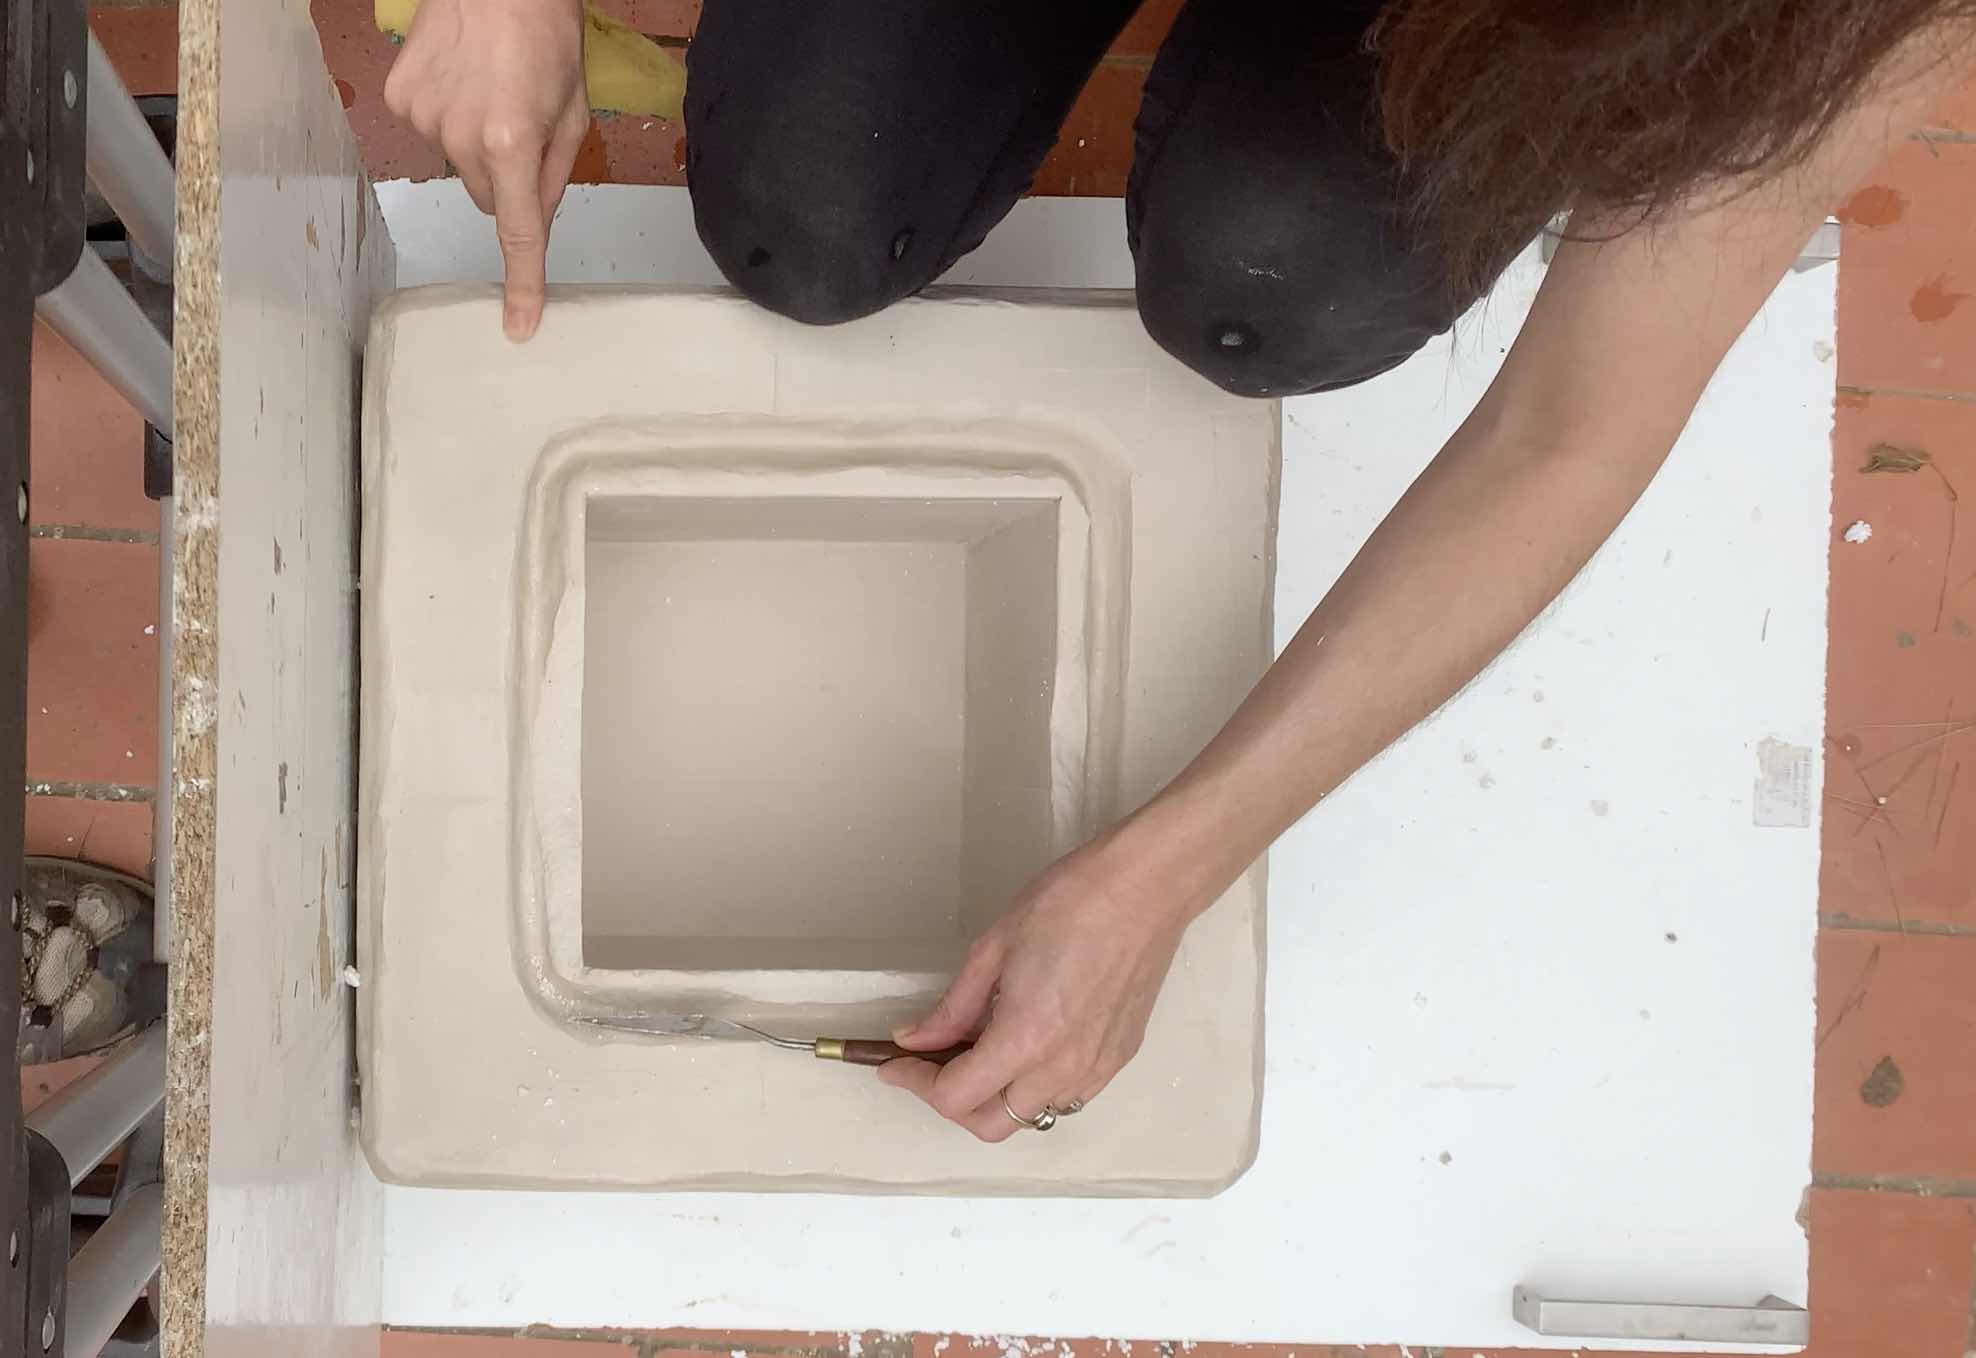
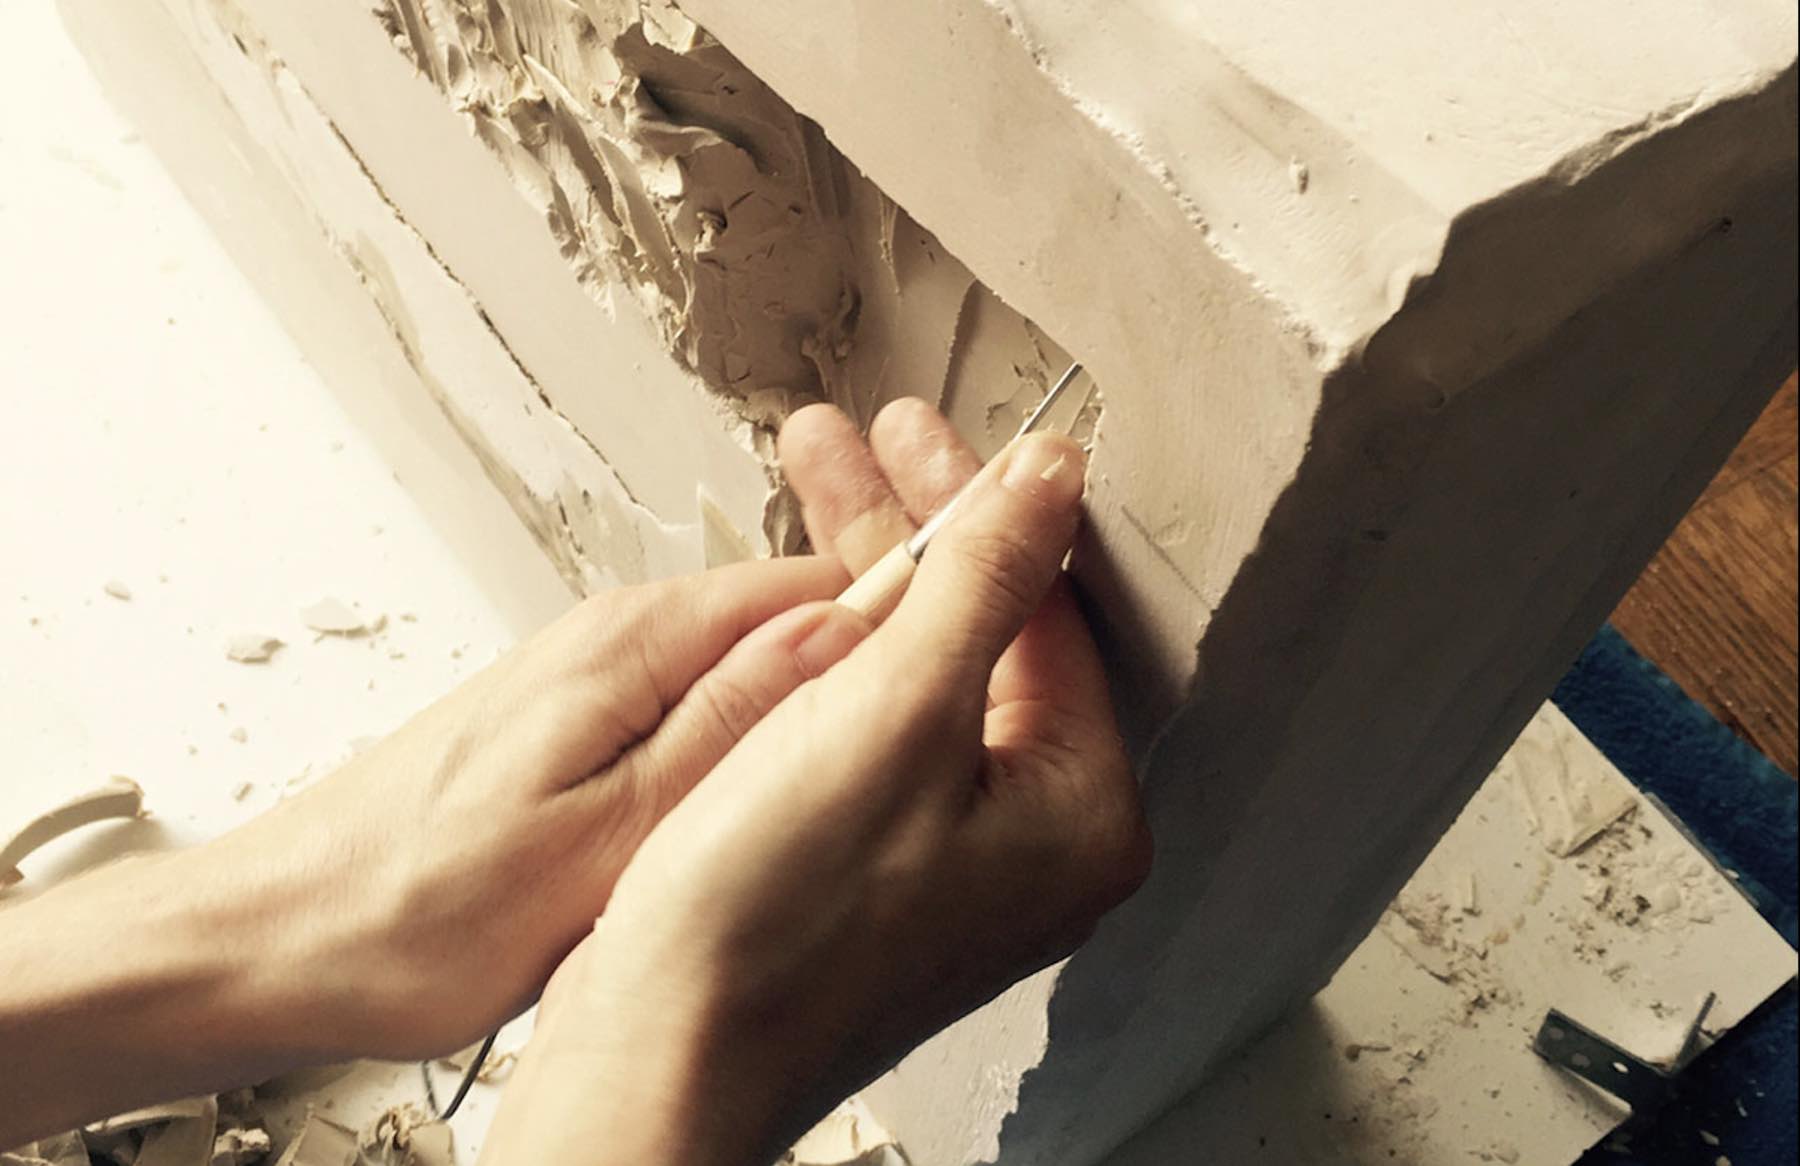
When it comes to achieving highly detailed glass sculptures, I often rely on plaster-silica investment molds. This technique has been a cornerstone of my practice, as it allows me to capture the delicate nuances of the original model and create precise, intricate pieces.
The process begins with creating a model of the sculpture (in clay, plasticine or wax). This step is essential because it gives me the flexibility to manipulate the shape and details before committing them to the mold. Once the model is ready, I prepare a mixture of plaster and silica powder. This combination is mixed to a specific consistency—one that will ensure the mold is strong and capable of withstanding the high temperatures of glass casting.
These molds offer:
- Excellent detail capture
- Reliable burnout in lost-wax casting
- A smooth surface that’s easy to cold work after casting

Vermiculite panels – Precision molds for my cube series
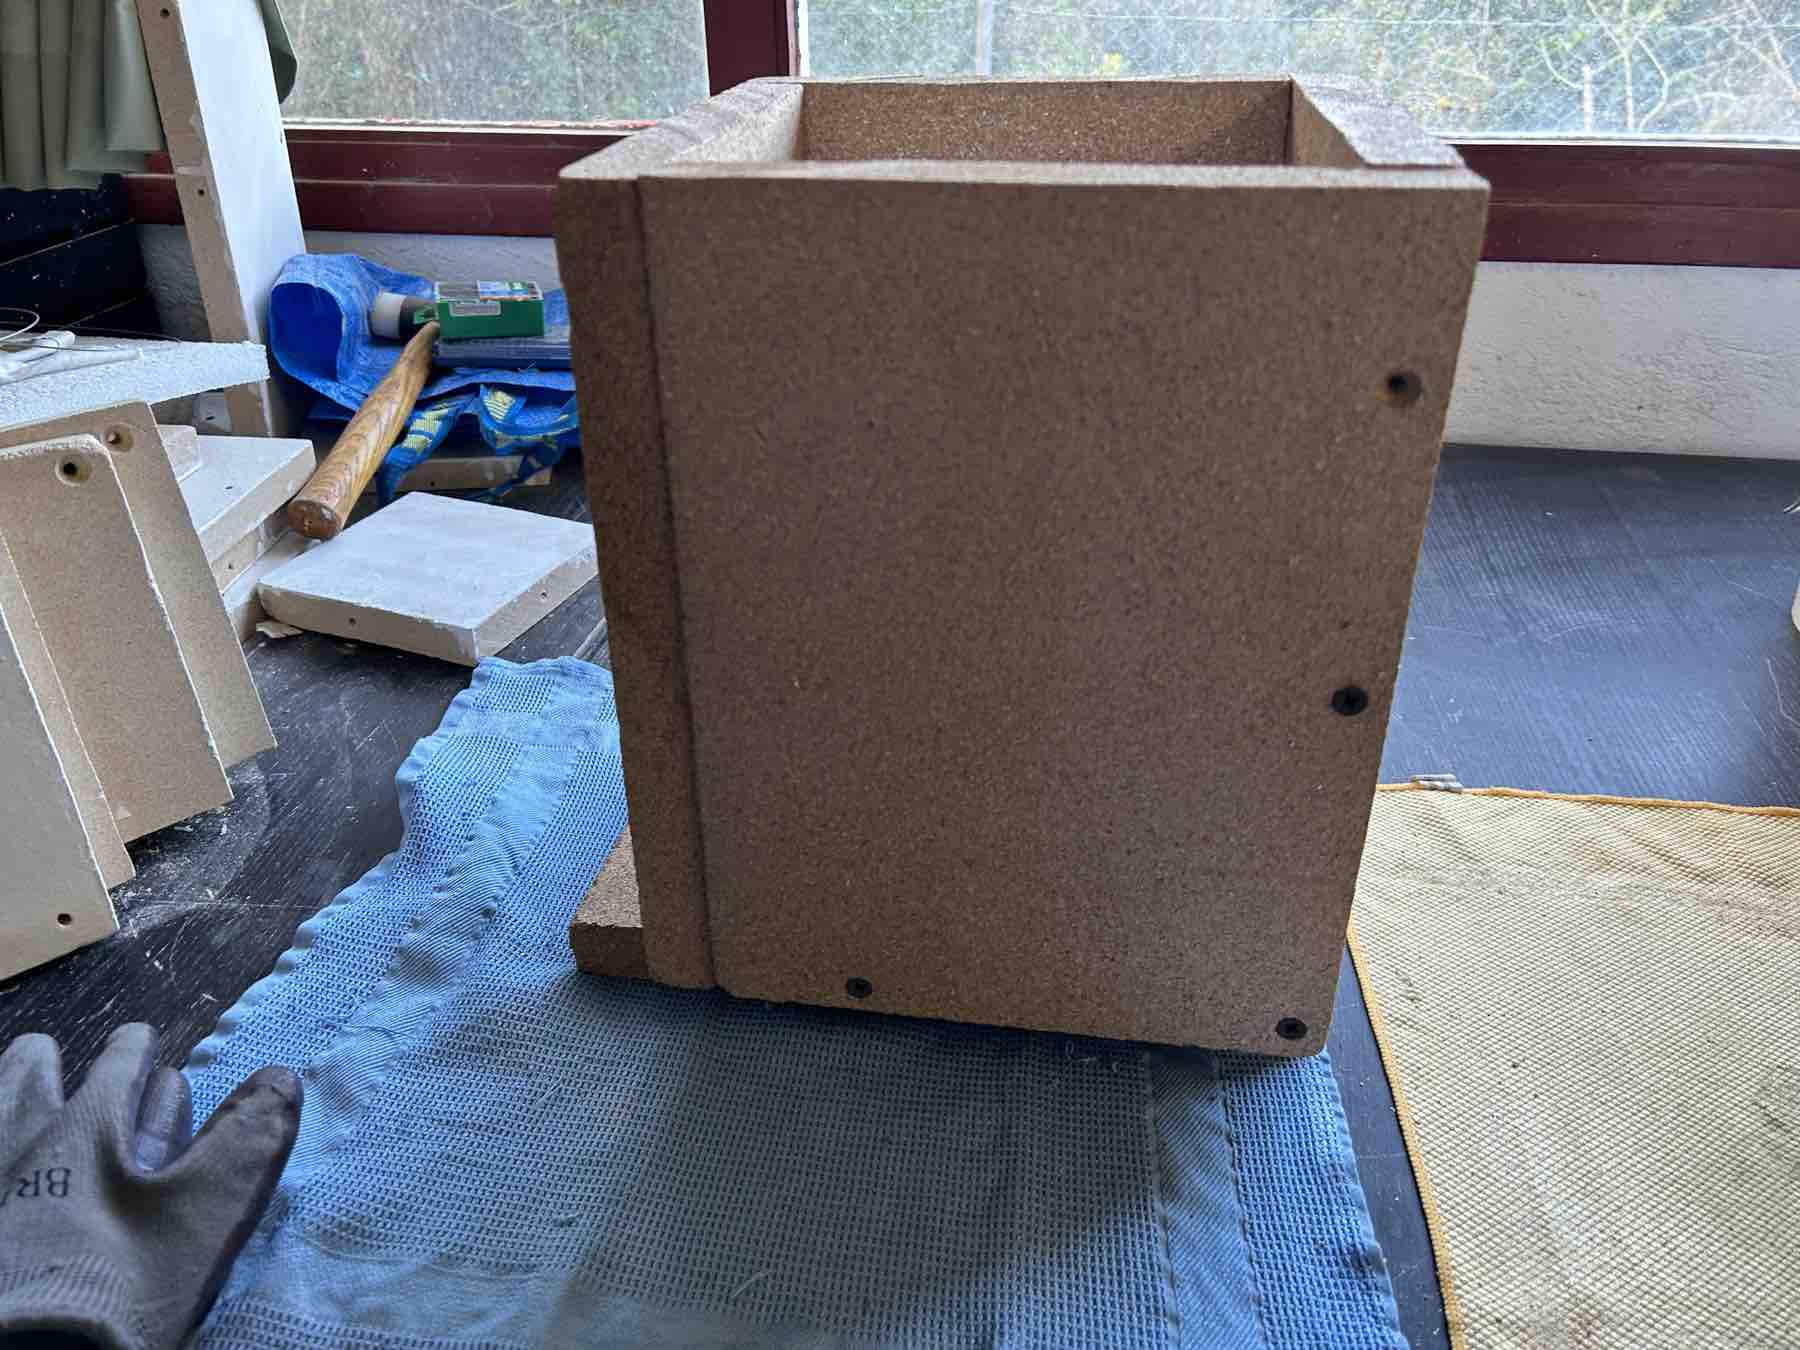
In my cube series, where maintaining straight, parallel walls is essential, I often employ vermiculite panels. This glass casting mold material is lightweight, heat-resistant, and can be easily cut to size, making it suitable for constructing box molds.
To make sure the panels remain securely assembled during the firing process, I cut them to the desired dimensions and fasten them together using stainless steel screws. This assembly method helps prevent deformation and ensures that the molten glass does not leak during casting.
Before placing the glass into the mold, I always apply a generous layer of kiln release coating—typically a high-grade kiln wash. This step is essential. Without it, the molten glass would stick to the vermiculite surface and ruin the sculpture (and the mold).
What I appreciate about this technique:
- It gives me control over the structure and wall angles
- It’s reusable if coated properly
- It complements the minimalism I aim for in these cube forms

Silicone molds
Silicone molds don’t have a place in the kiln (since they can’t withstand the high temperatures), but they still play a vital role in my glass casting process. While many artists use silicone molds to create replicas of a single wax model, I typically use them for more specific purposes.
For me, silicone molds are an essential tool to preserve the original wax model for future use, especially in the case of experimental pieces that might fail in the kiln. If a piece doesn’t turn out as expected, I can always go back to my original model and create a fresh wax casting. This provides peace of mind, knowing that I have a fail-safe in place should anything go wrong during the firing process.

Mistakes and mold failures I’ve learned from
Ah, the classic mold mishaps. I’ve cracked molds, poured too early, and underestimated how quickly moisture can ruin everything. But some of my most memorable failures have come from seemingly simple mistakes, which, though frustrating at the time, have taught me lessons that no workshop could.
One of the most common mistakes? Not calculating enough mix for the mold, only to have it start setting before you’ve finished pouring. It’s stressful when you have to scramble to make more and get it in place before it’s too late.
Another issue is when you don’t seal the junctures of the mold well enough with clay, and as you pour the mix, it suddenly starts dripping from the sides—there’s nothing like the panic of trying to fix it in the moment!
Some lessons I’ve learned from these and other mishaps:
- Always dry molds thoroughly before casting. Moisture can ruin a mold and cause cracks or deformities.
- Use materials rated for glass casting temps. Not all mold materials are created equal, and some just aren’t built to withstand the extreme heat of the kiln.
- Don’t rush—haste can ruin your most promising pieces. Taking the time to be meticulous pays off in the long run.
